
A tabletop checkers board works well for two players, but a group can lose the lesson when several learners have to lean over one position. A large magnetic board can keep a capture path visible while the teacher removes jumped pieces, resets the position, and asks the group to find the next landing square.
This is category guidance, not a ranking of named products. It does not claim hands-on testing, magnet strength, classroom approval, current prices, ratings, availability, or guaranteed mounting performance. Confirm the current board dimensions, supplied disc count, attachment method, materials, and instructions before buying.
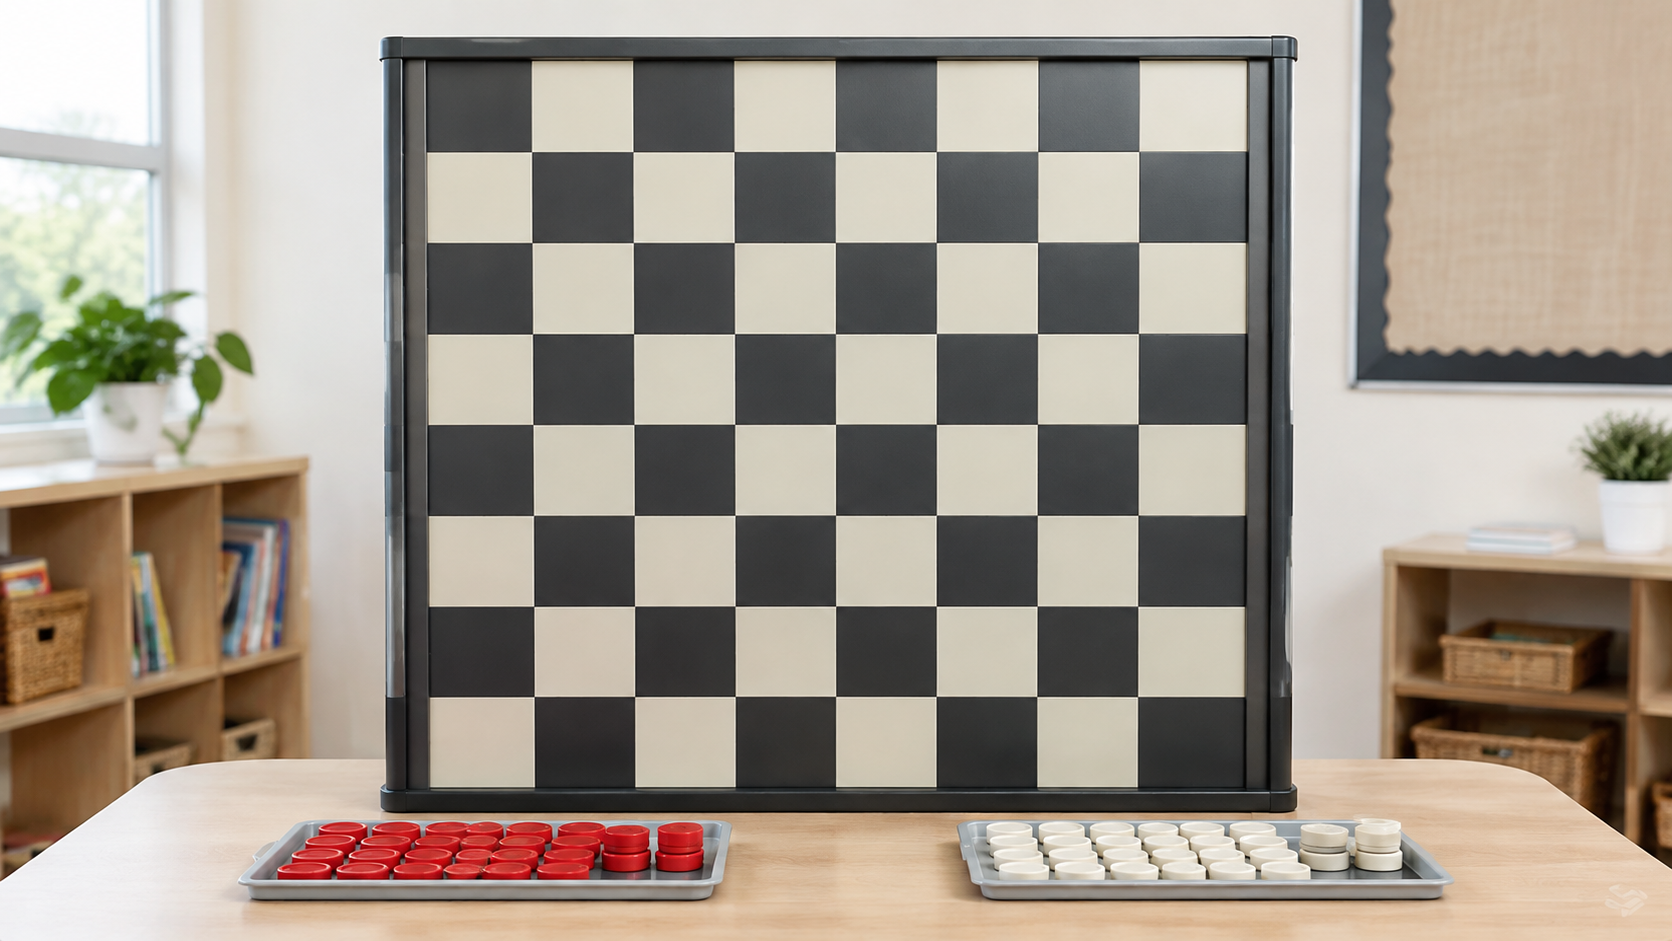
Quick answer
The best magnetic checkers teaching board is large enough for the farthest learner to distinguish every disc, has strong contrast on the playable dark squares, and includes discs that stay put during ordinary position changes. It also needs a visible kinging method and storage that makes all 24 pieces easy to count.
Choose a wall or stand-mounted board for recurring group lessons in one room. Choose a portable rigid board for a teacher who moves between nearby rooms. Use a normal tabletop board or document camera instead when the group is small, the display surface is unavailable, or matching magnetic checkers cannot be verified.
What to verify before buying
| Criterion | What to check | Why it matters in a jump lesson |
|---|---|---|
| Board format | An 8-by-8 grid with clear alternating squares | Learners need to follow the same dark-square diagonals used in American checkers. |
| Viewing size | Published board and square dimensions | A “large” label does not show whether the back row can distinguish landing squares. |
| Disc set | At least 12 discs per side, plus a documented king marker | Incomplete or ambiguous pieces make full setup and crowning demonstrations harder. |
| Disc fit | Disc diameter smaller than the square, with enough contrast | The group should still see diagonal direction and empty landing squares. |
| Retention | Maker description, supplied-board compatibility, and ordinary-use instructions | Pieces should remain where placed, but marketing language is not an impact guarantee. |
| Display and storage | Supported hanging, stand, folded, or rigid-storage method | A board that is slow to mount or has no safe home may not reach the lesson. |
Best overall format for recurring group lessons
A large rigid or semi-rigid magnetic board is the clearest starting category when checkers appears regularly in a classroom, library, or club. A stable vertical display keeps the position facing the whole group. Round discs are usually easier to distinguish than adapting chess silhouettes, and spare discs can demonstrate stacked kings or a separate crown marker.
Measure the intended display area and the sight line from the farthest seat. Verify the maker's supported hanging or stand method rather than improvising a wall attachment. A magnetic surface does not automatically include suitable checkers, and magnetic discs sold separately still need confirmed board compatibility.
Skip this format when the board has nowhere predictable to stand or hang, or when it would displace the playable sets learners need at their tables.
Best portable format for a traveling teacher
A smaller rigid magnetic board can suit tutoring, homeschool groups, and rotating stations when everyone sits nearby. Favor a complete piece inventory, a protective piece container, a board that fits the vehicle or cart, and setup that does not require sorting loose magnets before every lesson.
Do not confuse portability with a pocket travel set. Tiny magnetic travel checkers may preserve a game in motion, but they rarely make a useful group display. If playing during a trip is the actual need, use the magnetic travel checkers guide instead.
Skip this format when learners sit beyond comfortable tabletop viewing distance or when the packed board is awkward for the regular helper to carry.
How the board should handle jump instruction
In American checkers, a capture is usually mandatory when one is available, and additional captures by the same piece normally continue in the same turn. Other checkers and draughts variants differ, so state the ruleset before demonstrating. The board should help the group inspect a position; it should not replace the rule explanation.
- Set only the relevant pieces. A sparse position makes the moving piece, jumped piece, and empty landing square easier to see.
- Ask for the capture before moving. Learners should identify the adjacent opponent and the open square beyond it.
- Move, then remove. Keep the sequence consistent so the group sees which piece was captured.
- Pause after landing. Check the same piece for another legal capture before ending the turn.
- Reset the position. Piece trays or a countable storage strip make repetition quicker and reduce lost magnets.
For the underlying rule and common variations, use the forced-jump guide. New players should begin with how to play checkers before working through longer capture paths.
Kings need a visible teaching method
A tabletop set often shows a king by stacking a second checker. On a vertical board, stacking may be impossible or unclear from the back of the room. Look for doubled magnetic discs, a contrasting ring, a reversible marked side, or another method explicitly supplied for the board. Avoid improvised tiny markers that disappear at normal viewing distance.
Confirm that every learner understands the chosen marker before discussing backward movement. If ordinary stacking is important across the program's playable boards, compare checkers pieces for crowning and kinging.
Storage, care, and inventory
Count 12 pieces per side after each lesson and keep any king markers in labeled compartments. Follow the maker's cleaning directions for both the board face and magnets; do not assume a dry-erase surface unless it is documented. Store a rigid board where its face will not be pressed by loose equipment, and use the supplied case or sleeve when one is included.
Inspect the board, frame, stand or hanging points, and discs as the maker directs. This guide cannot establish wall-load limits, child-safety suitability, or school approval. Follow the product instructions and the local program's equipment rules.
Who should skip a magnetic teaching board?
- A family or tutor teaching only one or two nearby learners can usually use a readable tabletop board.
- A new program without enough playable sets should prioritize complete student boards and replacement pieces first.
- A teacher with an approved document camera may already have a clearer way to display the same board learners use.
- A group teaching several variants should not buy a display until its grid, piece count, movement examples, and king markers fit the chosen rules.
Bottom line
Choose a magnetic checkers teaching board for group visibility, not novelty. Verify an 8-by-8 grid, readable dark-square paths, 24 compatible discs, a visible king marker, supported display hardware, and countable storage. A large fixed board fits recurring lessons; a smaller portable board fits close groups. For the full room plan—student sets, labels, storage, and reset routines—continue with the classroom and club station guide.