
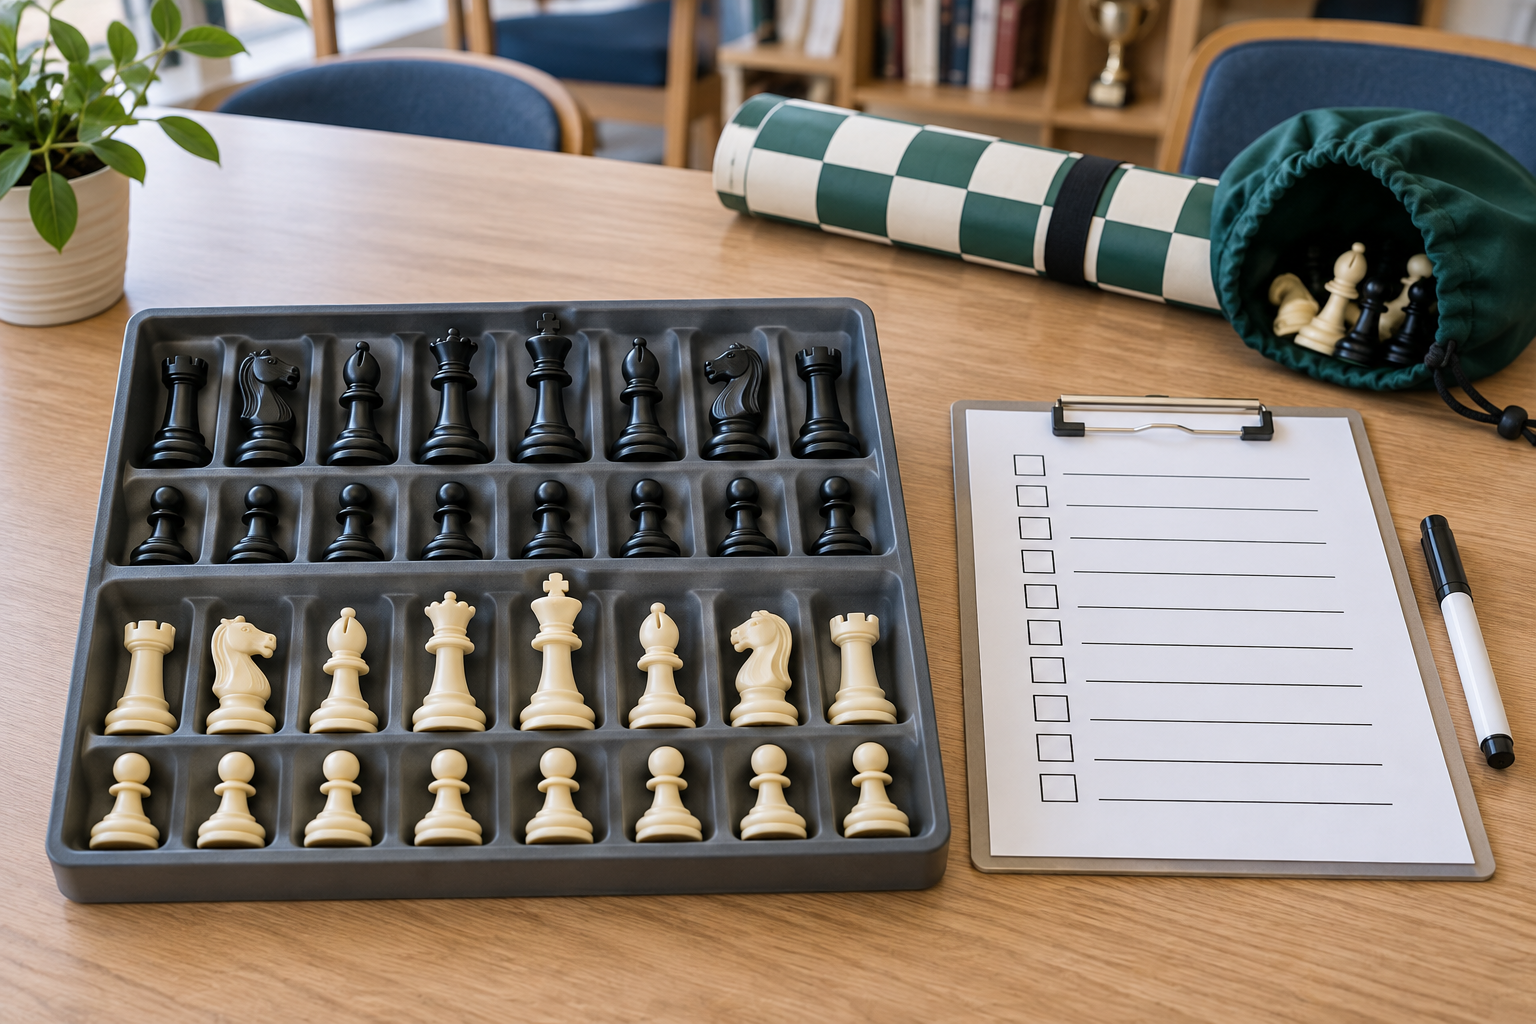
A checklist is the better first inventory tool for most chess clubs: it is inexpensive, portable, and can record which piece is missing. A fitted counting tray becomes useful when many identical sets are checked repeatedly and an empty position needs to be obvious at a glance. The strongest routine often combines a tray’s visual count with a short written exception log.
This comparison is about checking complete 32-piece chess sets, not ordinary storage alone. A tray should have one visible place for every piece. A checklist should name the expected material clearly enough that a helper can distinguish, for example, a missing dark bishop from a generic “one piece missing” note.
As an Amazon Associate, The Good Chess & Checkers may earn from qualifying purchases.
Quick decision aid
Browse the two inventory formats
For a tray, verify all 32 positions, king height, base diameter, compartment shape, lid clearance, and storage footprint. For a reusable checklist, confirm paper size, writing surface, erasing method, and where completed exception notes will live.
Quick decision
- Choose a checklist first when the club has mixed set designs, little storage space, or needs to record replacements and repairs.
- Choose fitted trays when the pieces are standardized, the tray fit is verified, and fast visual checks happen every session.
- Use both when trays reveal gaps quickly but a coordinator still needs a dated record of missing or substituted pieces.
- Skip buying either when only one or two sets are checked occasionally; a printed count card inside each existing bag may be enough.
How the two systems differ
A counting tray turns the inventory into a physical pattern. Sixteen visible positions for each side make a gap easy to notice without reading a list. The tray does not explain where a missing piece went, whether a substitute was added, or who should replace it.
A checklist turns the inventory into a repeatable sequence. A useful version separates light and dark material and lists one king, one queen, two rooks, two bishops, two knights, and eight pawns for each side. It can include a date, set number, and exception field. Its weakness is human: a helper can tick a box without actually completing the count.
When a counting tray earns its space
Trays make the most sense for clubs with several matching sets and a fixed return table. A helper can place each piece into its assigned position, see an empty compartment, then return the completed tray to its numbered kit. The layout also helps prevent a dark piece from being counted with the light army.
Fit is the hard gate. “Tournament-style” does not guarantee that a tray accepts your king height, base diameter, felted bases, extra queens, or weighted pieces. Measure the largest base and tallest piece, then verify usable compartment dimensions and lid clearance. A tray that pinches pieces, tips them sideways, or leaves them loose is a poor counting tool.
Also measure the shelf, bag, or cabinet. Thirty-two-piece trays can consume much more space than two drawstring pouches. Clubs that move equipment between rooms may find the rigid footprint slower to transport even if it is faster at the return table.
When the checklist wins
A checklist adapts to mixed inventories. One set may have extra queens, another may use a combination board with checkers, and a third may carry a clock. Give each numbered kit its own accurate card instead of forcing every kit into one template.
The checklist is also better for exceptions. Record “dark knight missing; temporary substitute in bag” and a date rather than repeatedly rediscovering the gap. Keep the note about equipment, not about a child or player. The purpose is to make the next setup predictable.
Laminate only if the sheet will be reused and the club has a reliable marker-and-erasing routine. Otherwise, a small stack of paper checklists may be simpler. A phone form can work for a coordinator, but it is less convenient when several helpers need to count simultaneously or devices are intentionally kept away from the tables.
A practical hybrid routine
- Give every set, board sleeve, piece container, and inventory record the same kit number.
- At return, arrange pieces in a verified tray or in clearly separated rows on the board.
- Confirm the standard material for each color; count extra queens separately rather than treating them as errors.
- Mark only the exceptions on the checklist: missing, substituted, damaged, or moved for repair.
- Keep an incomplete kit out of normal issue until its record shows the next action.
- Return the checklist and pieces to the matching numbered container.
This preserves the tray’s quick visual signal without generating a page of identical checkmarks after every session. If no tray fits, use the board itself as a temporary layout: place each army in its normal starting formation, put any extra queens beside the board, and record exceptions before packing.
Run a no-spend trial before buying
Test both workflows with three to five sets for two meetings. For the tray trial, use shallow labeled boxes or a printed 32-position layout large enough to keep pieces separate. For the checklist trial, print a set-specific card and ask helpers to count in the same order.
Record practical observations: how long the return table stays occupied, whether missing pieces are correctly identified, whether helpers complete the process without prompting, and how much shelf space the system uses. Do not declare a winner from a single unusually smooth or chaotic session.
What to verify before purchasing
- Piece fit: measure king height and the widest base; verify usable openings rather than exterior tray dimensions.
- Complete capacity: confirm 32 standard pieces plus a separate plan for extra queens.
- Visibility: each empty position should remain obvious when the tray is on the return table.
- Containment: if the tray doubles as storage, verify its lid or carrier rather than assuming open compartments protect pieces.
- Checklist accuracy: match the card to the actual kit, including checkers pieces or teaching aids when present.
- Cleaning and marking: follow the material maker’s care directions and confirm that reusable sheets erase as intended.
Bottom line
Start with a checklist because it costs little, handles mixed sets, and records the action a club needs to take. Add fitted counting trays only when repeated visual checks justify their rigid footprint and every relevant piece dimension has been verified. For busy clubs, a tray for the count plus a checklist for exceptions is clearer than expecting either tool to do both jobs.