
A useful classroom label does more than name a box. It lets students and helpers match a board, piece bag, and storage container quickly enough that the system still works at cleanup. The best format depends on what is being labeled, whether the container is washable, and how often sets are reassigned.
This guide compares label categories, not named winners or products we claim to have tested. Adhesives, surfaces, dimensions, and removal instructions vary, so check the current listing and test one label in an inconspicuous spot before labeling the whole inventory.
As an Amazon Associate, The Good Chess & Checkers may earn from qualifying purchases.
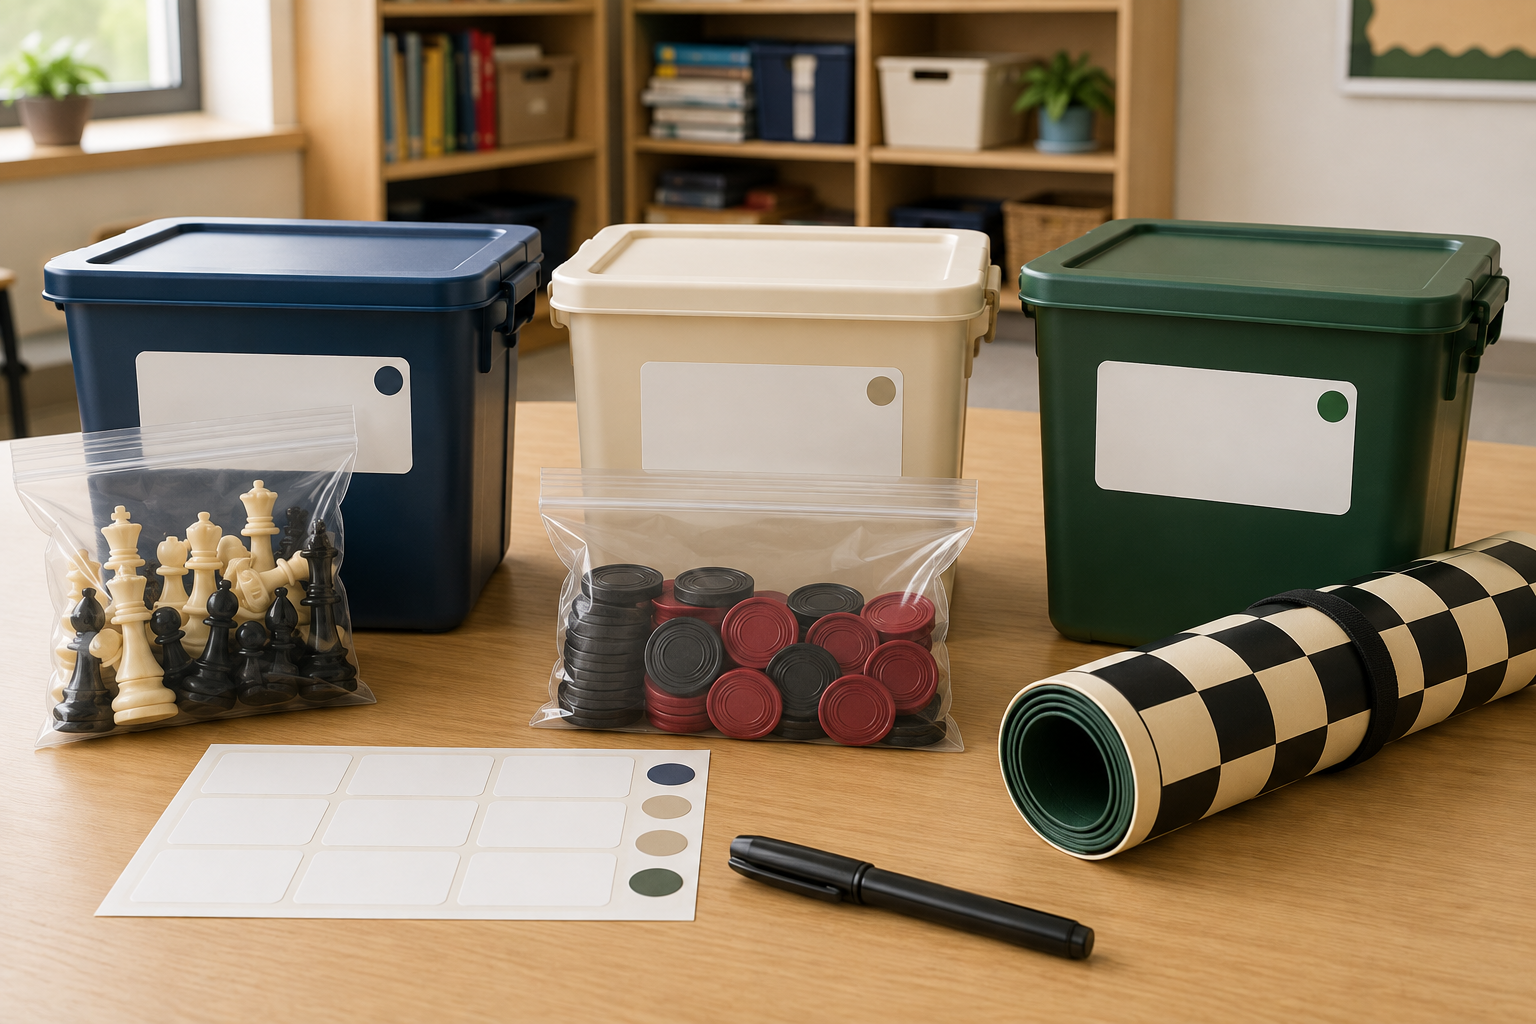
Quick decision aid
Compare removable labels for shared game equipment
Start with the container surface and cleanup routine, then compare write-on, color-coded, laminated, and hanging formats by visibility, removability, replacement, and storage fit.
Choose the Code Before the Label Material
Give each complete kit one short identifier, such as a number or a color-plus-number combination. Put that same identifier on the board container, chess-piece bag, checker bag, and outer bin. A label should identify where an item belongs; it does not replace a piece count or condition check.
- Keep it short: large “Set 4” text is easier to scan than a long room-and-shelf description.
- Use text with color: a color dot can speed sorting, but text or a number keeps the system usable when colors look similar.
- Reserve one code per kit: do not reuse a missing set's code until records and loose parts have been reconciled.
- Place consistently: use the same side or corner on every comparable bin and bag.
Best Overall: Removable Write-On Labels
A plain removable label is the most flexible choice for smooth plastic bins, rigid cases, and folders. It can carry a large set number plus a smaller contents note, and it can be replaced when the collection changes. Confirm that the listing describes the label as removable for the intended surface; “repositionable” and “permanent” are not interchangeable.
Best for: changing classroom inventories and smooth containers that stay indoors.
Skip it if: the surface is textured, fabric, frequently washed, or sensitive to adhesive.
Best for Fast Sorting: Color Dots Plus Printed Numbers
A small color dot paired with a clearly written or printed number creates two matching cues. That helps when several kits are returned at once. Use a limited palette with strong contrast, and never rely on color alone. Put the number on the dot only if it remains large enough to read at the normal sorting distance.
Best for: shelves divided into a few zones or teams that each handle several sets.
Skip it if: the dots are too small, the colors are hard to distinguish, or the coding system requires a separate legend for routine cleanup.
Best for Reusable Cards: Laminated Inserts in Clear Pockets
A clear adhesive pocket or built-in card holder can protect a paper inventory card while letting staff swap the card without replacing the holder. This format can list expected contents—such as one board, two chess-piece colors, and two groups of checkers—without crowding the main set identifier.
Best for: rigid bins with enough flat space for a readable card and inventories that change by term.
Skip it if: the pocket catches on shelves, covers a latch, or creates an opening where dirt and moisture collect.
Best for Fabric Bags: Luggage-Style Tags or Sewn Label Windows
Adhesive labels often lift from woven or flexible fabric. A securely attached tag or an existing label window is usually easier to see and replace. Check that a hanging tag cannot tangle with a zipper or drag across the playing surface; a short attachment and rounded edges are more practical than a long decorative strap.
Best for: carrying bags and durable piece pouches that lack a smooth label panel.
Skip it if: the attachment can become loose, snag during transport, or interfere with opening the bag.
Best Low-Cost Start: Painter's Tape and a Suitable Marker
For a temporary pilot, a short strip of painter's tape can show whether the coding system actually speeds up distribution and cleanup. Test removability and residue on the exact container first, keep tape away from board surfaces and pieces, and replace torn or curling labels promptly. This is a trial format, not a promise of archival storage or washability.
Best for: testing a numbering scheme before buying a larger label supply.
Skip it if: the labels will be handled heavily, exposed to moisture, or left in place beyond the tape maker's stated use.
Where Labels Should—and Should Not—Go
Label outer storage, piece bags, board straps, tubes, or purpose-made tag areas. Keep adhesive off playing squares, chess-piece bases, checker faces, felt pads, hinges, vents, zipper paths, and manufacturer information you may need later. A board that rolls should not be rolled tightly over a raised label.
Do not label every individual playing piece. That creates extra work, may change how pieces sit or slide, and does little to speed up a whole-kit count. Instead, match the piece container to the kit and keep a separately labeled replacement supply.
A Five-Minute Classroom Label Plan
- List the complete kits and assign each a unique short number.
- Choose one large, consistent label location on each outer container.
- Repeat the code on the board storage and each piece pouch.
- Add a small contents card only where it helps someone count or replace parts.
- Pilot the system on one kit, then check readability, adhesion, residue, and cleanup flow before expanding it.
Who Should Skip Buying Dedicated Labels?
Skip a dedicated label supply when the class owns only one or two sets, when transparent containers make contents and ownership obvious, or when existing sewn windows and reusable cards already do the job. A marker written directly on a container is harder to reverse, so use it only when the container surface and long-term assignment make that appropriate.
Connect Labels to a Real Check-In Routine
At cleanup, return each board and piece pouch to the matching outer code, count the pieces using the class's normal checklist, and move incomplete kits to a clearly separate review area. If the inventory mixes rigid boxes and fabric bags, compare fixed adhesive labels with reusable hanging tags. For larger programs, compare numbered whole-kit bags before assuming labels alone will solve transport and missing-piece tracking.
Bottom Line
For most classroom chess and checkers inventories, start with large removable write-on labels and one short code repeated across the board, piece bags, and outer container. Add color only as a second cue, use card pockets when contents change, and use tags for fabric that will not hold adhesive. Pilot one set first; the best label is the one students can understand and helpers can maintain without damaging the equipment.