
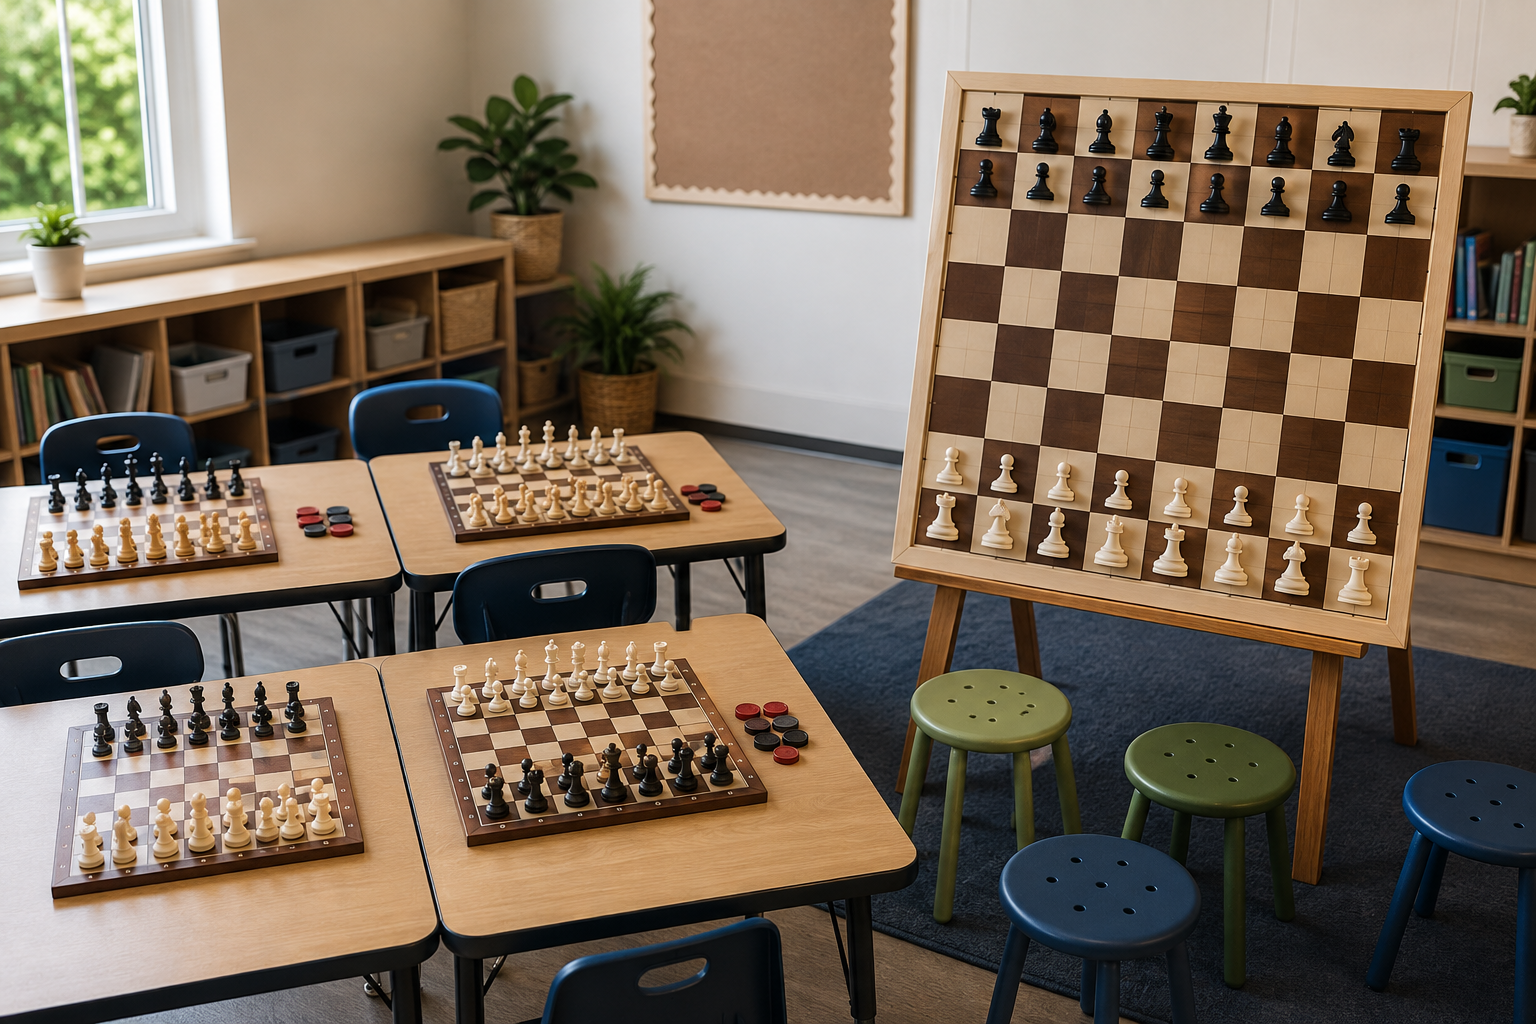
For most beginner classes, buy enough ordinary tabletop boards for pairs first. Learners need turns moving pieces, noticing mistakes, and resetting positions. One large demonstration board becomes the better first purchase only when the immediate job is whole-group explanation and the class can already borrow, share, or improvise practice boards.
This is an allocation choice, not a contest between two versions of the same product. Pair boards create playable seats; a demonstration board creates one common view. Count the lesson minutes each setup will actually support before spending the budget.
The Good Chess & Checkers may earn commissions from qualifying purchases.
Quick decision aid
Compare both classroom equipment paths
Start with the number of pairs who need hands-on practice, then check board readability, complete piece counts, storage, and setup time. Add a shared display when whole-group sightlines become the real constraint.
Quick decision
- Buy pair boards first when learners will play or solve positions during most sessions.
- Buy the demonstration board first when one instructor must explain positions to a group and usable practice boards are already available.
- Split a limited budget when a small display plus a few rotating practice stations can serve the lesson plan.
- Delay both purchases until you know attendance, tables, storage, the games being taught, and the rules variant used for checkers.
What one board per pair gives the class
A pair board turns instruction into action. With two learners at each board, everyone can set up pieces, make moves, point to squares, and switch sides. The teacher can demonstrate a short idea on one table, then ask every pair to reproduce it.
For chess, each station needs a complete set with recognizable piece shapes; extra queens are useful only when pawn-promotion exercises are part of the plan. For checkers, each station needs 24 pieces that fit the squares and stack clearly when a piece becomes a king. If one board serves both games, store the chess and checkers pieces separately but label them for the same station.
The drawbacks are multiplication: more boards mean more pieces to count, more bags or boxes to label, more table area, and more incomplete sets to repair. A class buying several stations should standardize dimensions where practical so spare pieces do not become a new matching problem.
Skip a full board-per-pair purchase for now when attendance is uncertain, the room has no secure storage, or lessons are mostly short whole-group demonstrations with practice happening elsewhere.
What one shared demonstration board gives the class
A demonstration board gives the group one position to discuss. An upright hanging or freestanding board can help learners at several tables follow the same move without crowding around a tabletop. A large tabletop board may work for a very small group, but check sightlines from the back and sides before assuming that “large” means visible.
The limitation is participation. One learner can move a piece while everyone else watches. That can be useful for a five-minute explanation, but it does not replace partner practice. A demonstration board also needs a secure stand or mounting method, a place to store oversized or magnetic pieces, and a repeatable way to confirm that the display is complete before class.
Chess demonstration boards are easier to find as a category than checkers-specific displays. For a checkers lesson, verify an 8-by-8 grid, piece visibility, and whether the supplied or compatible markers can show kings clearly. Do not assume a product intended for chess includes suitable checkers pieces.
Skip the display-first approach when learners already sit close enough to one tabletop board, when the display would consume most of the budget, or when no practice stations are available after the explanation.
Run the seat-minute test
A simple planning measure is “active seat-minutes”: the number of learners who can handle pieces multiplied by the minutes available for practice. It is not a teaching-performance claim; it is just a way to compare access.
Suppose 12 learners have a 30-minute session with a 10-minute explanation and 20 minutes of paired practice. Six pair boards can give all 12 learners access during those 20 minutes. One display can support the common explanation, but it cannot create six simultaneous games. If the same group instead meets for a short rules talk and practices later at home or online, the display may serve more of that session's actual purpose.
Compare the hidden requirements
- Tables: measure the playable surface after notebooks, rule cards, and captured pieces have space.
- Sightlines: place a paper mock-up where a display would go and view it from every seat.
- Piece readability: favor familiar chess silhouettes and strongly contrasting checker colors.
- Storage: count complete stations and display pieces separately; label every container.
- Setup: decide who retrieves, checks, arranges, resets, and returns each item.
- Game balance: make sure a shared chess display does not leave checkers teaching without an equally visible method.
- Replacement: record board square size and piece dimensions before ordering spares.
A phased purchase plan for a limited budget
- Confirm typical attendance and divide by two to estimate the ideal number of pair stations.
- Inventory boards, chess pieces, and checkers pieces that can be borrowed or reused without mixing incomplete sets.
- Buy one candidate tabletop station and test its table fit, visibility, setup, counting, and storage routine.
- Add matching pair stations until most learners can practice at once, or establish a clear rotation if that is not yet possible.
- Mock up the planned display size and check visibility before buying a demonstration board.
- Add the display when repeated whole-group explanations justify its storage and setup.
If the class will choose between a packaged fleet and separately sourced parts, compare a prebuilt classroom kit with a DIY setup. For board formats and group storage, the classroom set guide and demonstration chess board guide narrow the next purchase without pretending one category fits every room.
Bottom line
Choose pair boards first when the class is meant to play: they turn instruction into repeated, hands-on decisions for chess and checkers. Choose a shared demonstration board first only when group visibility is the immediate bottleneck and practice equipment already exists. For many new programs, the sensible sequence is one tested pair station, enough matching boards for useful participation, and then a display once the teaching routine proves it is needed.
The planned classroom-and-club pillar is not yet built, so this guide links to the existing classroom station and procurement guides as its current hub path.