
The best tabletop easel is the smallest stable support that holds your actual chess lesson board at a visible angle without covering its bottom row. Start with the panel’s width, height, thickness, and weight; then compare ledge depth, rear footprint, angle adjustment, folded size, and the route between storage and the teaching table.
This is a product-category guide, not a ranking of products we tested. A generic art easel may work, but only when its stated dimensions and support design fit the complete lesson panel. Follow the board and easel makers’ setup and load instructions.
As an Amazon Associate, The Good Chess & Checkers may earn from qualifying purchases.
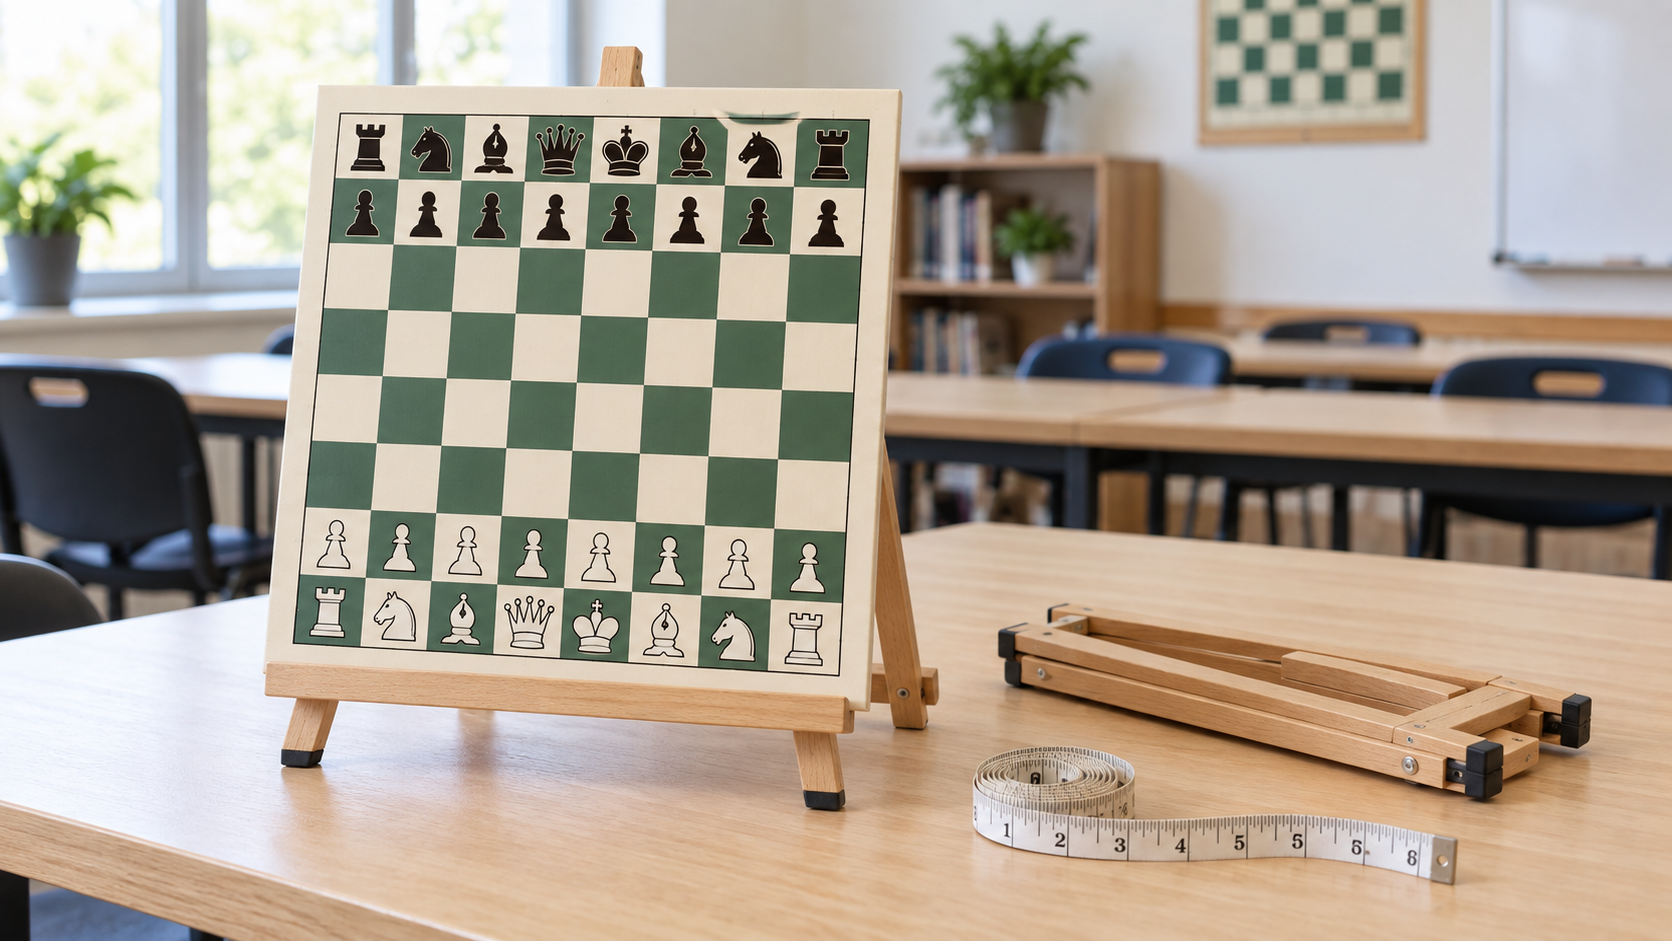
Measure the lesson panel first
Compare tabletop display easel formats
Check stated ledge depth, supported panel height and weight, open footprint, angle positions, feet, folded dimensions, and whether a top clamp would hide lesson content.
Quick choices
- Choose a folding A-frame easel when compact storage and quick setup matter and its ledge fully supports the panel.
- Choose an adjustable mast-style easel when the lesson board needs more height or angle control and the wider open footprint fits the table.
- Choose a low display stand for a small, light panel viewed by a few nearby learners.
- Skip a separate easel when the board already has a supported stand, a wall-mounted display is available, or a document camera shows a physical board more clearly.
Measure the complete lesson board
Record the panel’s outside width, height, thickness, and weight with every attached piece, frame, handle, or tray. A listing’s maximum canvas height does not prove that its bottom ledge is deep enough or that a wide board will stay centered.
Place the board on a temporary support and check whether learners can see all 64 squares. A lip that hides the bottom rank, a top clamp over the pieces, or a steep backward angle can make an otherwise adequate easel poor for chess instruction.
Compare the criteria that matter
| Criterion | What to verify | Why it matters |
|---|---|---|
| Panel fit | Supported height, width, thickness, weight, and ledge depth | The lesson board must sit fully on the support without relying on guesswork |
| Open footprint | Front width plus the rearward depth of the back leg | The easel must leave room for hands, supplies, and table edges |
| Viewing angle | Angle stops and visibility from the far seat | Glare and foreshortening can hide squares or pieces |
| Contact points | Feet, ledge, clamp, and surfaces touching the panel | They should not cover content or conflict with care guidance |
| Portability | Folded dimensions and complete carried bundle | It still must fit the cabinet, tote, doorway, and route |
Folding A-frame easels
An A-frame opens quickly and often folds into a flat bundle. It suits a lightweight lesson panel used on the same table each week. Confirm that the back leg locks or stops at a stated position and that all feet remain on the tabletop when the panel is loaded.
Skip this format if the ledge is too shallow, the panel is wider than the support, the open rear leg competes with player space, or the maker does not state a suitable supported size or load.
Adjustable mast-style easels
A mast and sliding ledge can offer more height control. That is useful when a group views the board over books or tabletop sets, but adjustment hardware also adds setup steps and folded bulk. Check the complete base dimensions, not only the upright height.
Skip this format when frequent adjustments invite inconsistent setup, when clamps cover the lesson surface, or when a simple low stand already puts the board at eye level for the intended group.
Low tabletop display stands
A compact display stand can support a small printed position card or rigid lesson panel for one table. Its lower center of gravity and short folded size may be convenient, but it is not automatically suitable for a full demonstration board. Compare the stand’s stated supported dimensions with the real panel.
Skip this format when learners sit far away, the stand has no verified capacity for the panel, or the lesson needs frequent piece movement that could shift the display.
Test the setup before buying several
- Measure the board and mark its proposed outline on the table with removable tape.
- Mark the rearward footprint and leave space between it and the table edge.
- Prop the board temporarily at the intended angle using a stable support already approved for the room.
- View every square from the nearest and farthest learner positions and check glare at lesson time.
- Practice placing or marking a piece without holding the panel with the other hand.
- Measure the storage shelf, tote, doorway, and full carrying route.
If the board itself is too small, changing the support will not solve the viewing problem. Compare a demonstration board with a document camera before adding another accessory.
What to verify in a listing
- Exact open and folded dimensions rather than “portable” or “compact.”
- Stated supported panel dimensions and load, including ledge depth.
- How angle and height adjustments are secured.
- Whether feet, ledges, and clamps contact the panel or cover any squares.
- Included parts, assembly steps, care guidance, and storage closure.
- Return terms if the complete board-to-stand fit cannot be confirmed beforehand.
Bottom line
Choose a portable tabletop easel by measured lesson-board fit and the complete teaching footprint, not by an art-supply label. An A-frame favors quick folding, an adjustable mast favors positioning, and a low stand favors a small nearby group. Skip the purchase when a supported board, wall display, or document-camera workflow already gives every learner a clear view.