
A hanging demonstration chess board is usually the simpler choice when a teacher needs a reliable, screen-free shared position that learners can approach and move. A document camera is often better when the lesson depends on ordinary three-dimensional pieces, book pages, worksheets, or a live tabletop demonstration—but only when the room already has a compatible display and usable connections.
Neither format replaces practice boards. Both create one common view; learners still need turns making moves themselves. Choose by the teaching workflow and the room’s sightlines, not by which device appears more advanced.
The Good Chess & Checkers may earn commissions from qualifying purchases.
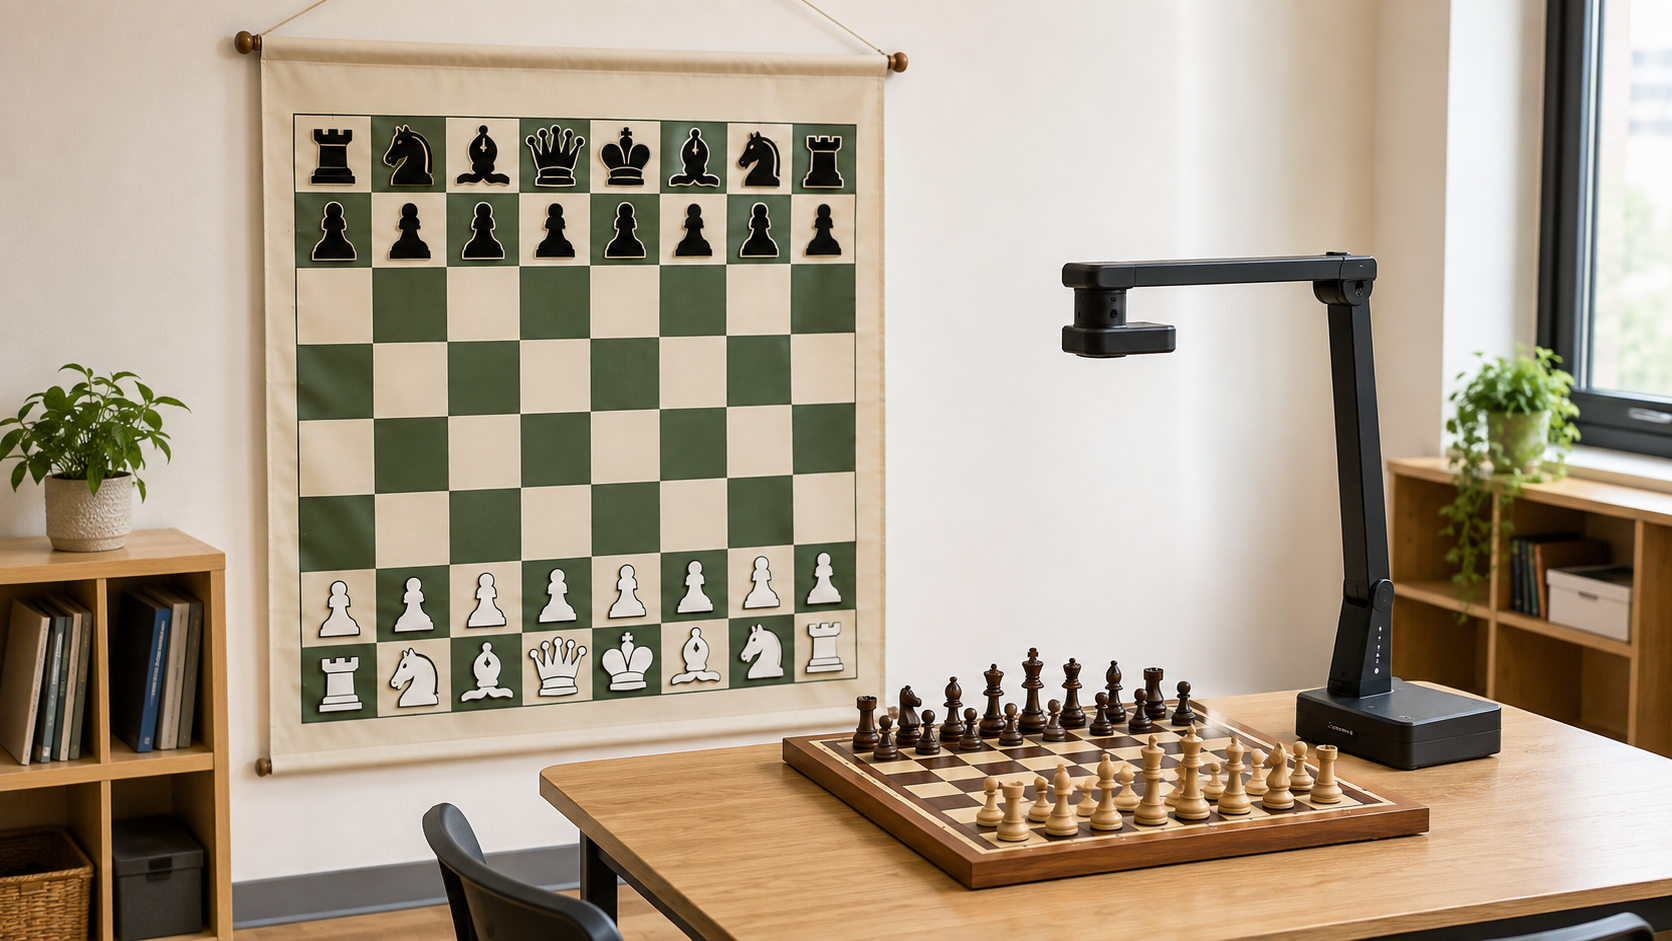
Quick decision aid
Compare both group-display formats
For a demonstration board, check the visible grid, piece contrast, coordinates, hanging method, and storage. For a document camera, verify capture area, stand clearance, output or software requirements, and the display already available in the room.
Quick decision
- Choose a demonstration board for a low-dependency setup, frequent learner participation, and a position that can remain visible during discussion.
- Choose a document camera when you need to show real pieces, hands moving them, a score sheet, a book diagram, or both chess and checkers materials on the same display.
- Use both when the demonstration board anchors the position and the camera occasionally enlarges a tabletop detail.
- Choose neither yet when the group is small enough to gather around one board or the first budget should provide playable boards for pairs.
Side-by-side comparison
| Decision | Demonstration board | Document camera |
|---|---|---|
| What learners see | A flat, simplified board and large piece symbols | A live view of the actual tabletop material |
| Dependencies | A stable hanging or standing location | Camera, power, compatible output or software, and a projector or large display |
| Participation | Learners can often move the large pieces directly | Learners can move tabletop pieces, but the camera position must remain clear |
| Changing materials | Best for the board and pieces it was designed to show | Can show boards, books, worksheets, clocks, and piece details within its capture area |
| Storage | Board, pieces, and a roll, fold, or rigid panel | Camera, cables, adapters, and possibly a laptop |
| Failure points | Missing display pieces, weak attachment, or poor sightlines | Connection, focus, glare, camera clearance, software, or display problems |
When a demonstration board fits better
A demonstration board keeps attention on one position without asking the teacher to manage a projected image. Flat piece symbols can make a crowded position easier to read from a distance, and learners can often walk up and suggest a move. The position also stays available while the teacher turns to help a pair.
Check the board’s actual displayed size, square contrast, piece retention, coordinate orientation, and mounting method. Make sure every piece type is recognizable from the farthest seat. A board that is large on a product page may still be too small for a deep or wide room.
Skip this format when there is no suitable hanging surface, when flat symbols confuse the learners, or when most lessons depend on showing worksheets and real tabletop materials rather than one board position.
When a document camera fits better
A document camera lets the teacher use the same board and pieces learners handle. It can also move from a complete position to a notation sheet, rule card, book diagram, or checker-crowning example without buying a separate oversized version of each item. That flexibility is useful when one teaching station serves several lesson types.
The camera is only one part of the route. Before buying, trace the complete chain from camera to computer or directly to the room display. Confirm the connection type, any required software or account, supported operating system, capture area, stand height, focus behavior, and whether the board fits under the camera without blocking the teacher’s hands. Product requirements change, so verify them on the current manufacturer page for the exact model.
Skip this format when the room lacks a dependable display, setup time is short, the camera would travel without protected cable storage, or the organization cannot support its software and connection requirements.
Test sightlines before choosing
- Mark the intended board or projected-image size on the wall with removable tape.
- Place simple piece shapes or a sample position within that area.
- Sit in the farthest and most off-center learner seats.
- Check whether dark and light pieces, square colors, and coordinates remain distinguishable.
- Dim or redirect room lighting only as the normal lesson routine allows; do not assume every session can use ideal lighting.
For a camera route, repeat the test using the actual projector or display. A camera specification alone cannot tell you whether the final image will be readable after room lighting, screen size, resolution, and viewing distance are combined.
Plan the lesson workflow, not just the image
Write down how a position gets from storage to the group view, how a learner proposes a move, and how the equipment is reset afterward. A demonstration board may need sorted pockets for its flat pieces. A camera station may need a labeled cable pouch, a fixed board position, and a short connection checklist.
Keep a no-display backup lesson ready if technology is part of the route. That might be one tabletop position per small group, a printed diagram, or a short partner exercise. For the broader equipment plan, use the beginner-friendly classroom and club station guide. If the first purchase is still undecided, compare pair boards with one shared display before funding either presentation option.
Privacy and classroom cautions
A document camera should point only at the teaching surface. Keep student names, faces, private notes, account screens, and unrelated materials outside the frame. Follow the organization’s approved device, software, recording, and network procedures; this guide does not replace school or club policy.
For either format, route cords and stands so they do not create an unstable teaching station or obstruct normal movement. Use the manufacturer’s setup instructions and the room owner’s equipment rules rather than improvising mounts or connections.
Bottom line
Choose a demonstration chess board when you want a simple, persistent, learner-friendly shared position with few technical dependencies. Choose a document camera when the real advantage is switching among physical pieces, books, worksheets, and other tabletop details—and the room already has a reliable display path.
For many programs, the best sequence is ordinary boards for hands-on practice first, one dependable shared display second, and extra technology only when it solves a repeated lesson problem. The right format is the one a teacher can set up, explain with, reset, and store consistently.