
A simple visual timer can help when one leader needs the whole group to see how much time remains in a lesson block, puzzle, game rotation, or cleanup. It is not a replacement for a chess clock: a visual timer counts one shared activity, while a chess clock tracks two players' separate time. Buy one only if a visible shared countdown solves a repeated transition problem better than the timer you already have.
This is a product-category guide, not a ranking of named models. We have not tested every timer returned by the shopping route and do not claim current prices, ratings, availability, battery life, sound level, or classroom outcomes. Verify the current listing and maker instructions before choosing.
As an Amazon Associate, The Good Chess & Checkers may earn from qualifying purchases.
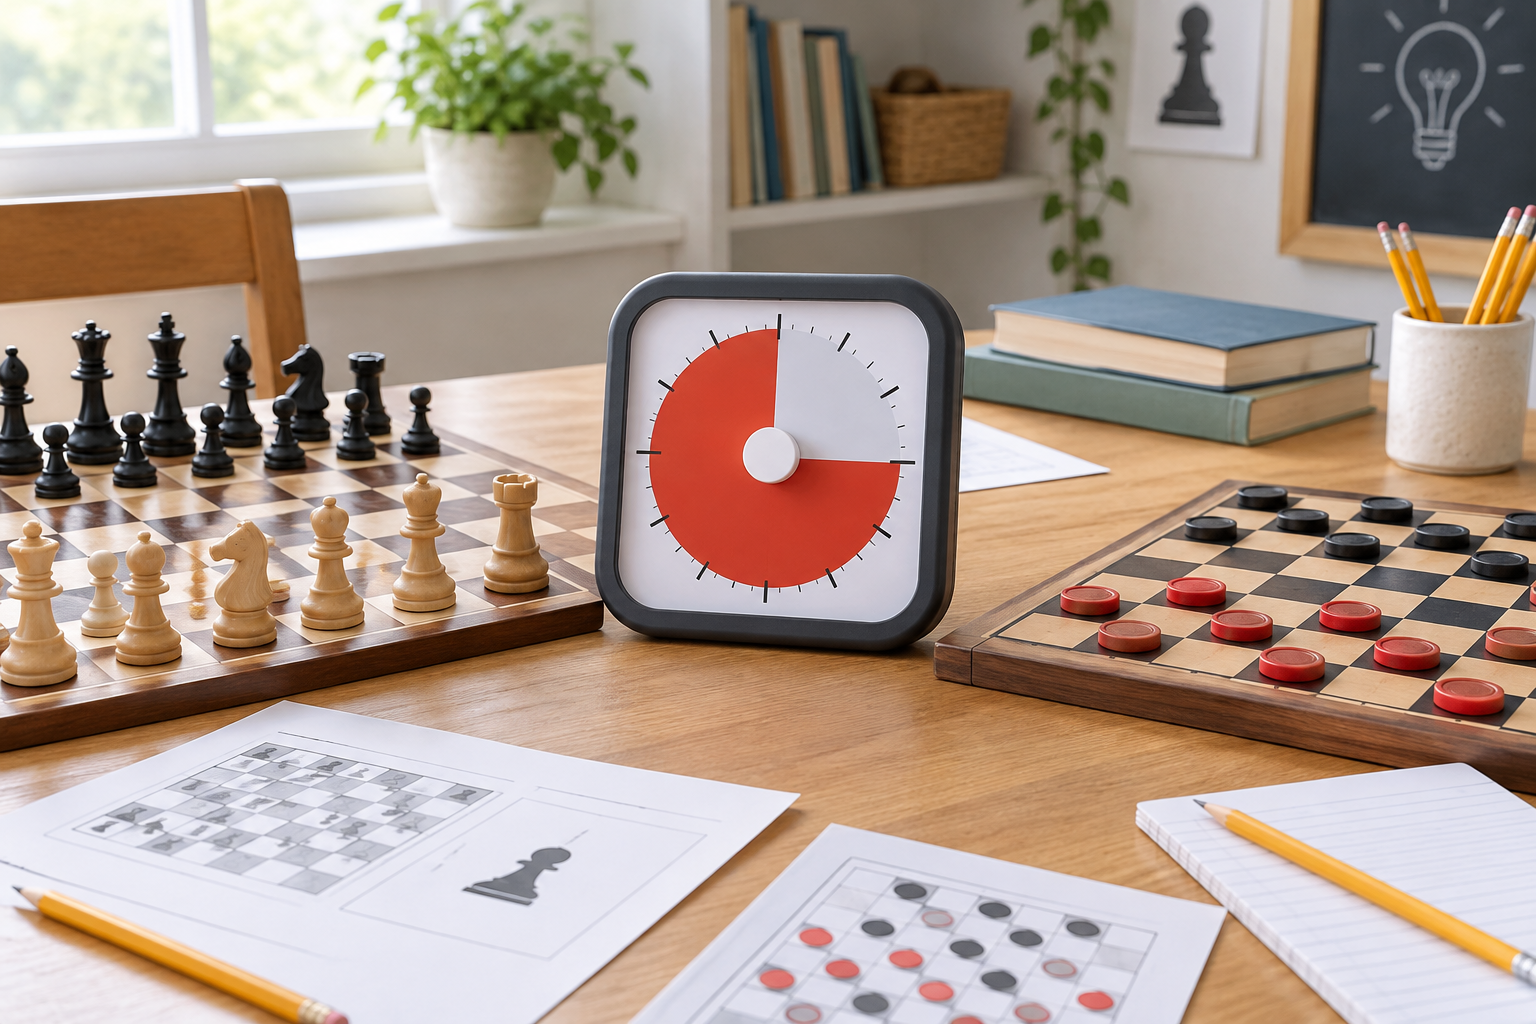
Product-category guide
Start with the room's sightlines and routine
Look for a remaining-time display that learners can understand from their seats, controls a helper can reset quickly, an alert mode that fits the room, and a stable footprint. Confirm timing range, power, dimensions, and controls on the current listing.
Quick decision
- Choose a visual timer when several learners need one clearly visible countdown for the same activity.
- Use an existing kitchen timer or phone when only the helper needs to know when a block ends.
- Choose a chess clock when the goal is to give two chess players separate time and switch the active side after each move.
- Keep the activity untimed when a countdown adds pressure without fixing a real scheduling or rotation problem.
What a visual timer should do in a game lesson
The useful feature is not merely an alarm. It is a display that shows the remaining share of a short activity at a glance. A leader might use one countdown for a rules explanation, a set of checkers jumps, a chess-piece movement mini-game, a free-play rotation, or the final reset. Everyone follows the same timer.
That distinction keeps the lesson clear. A chess clock belongs at one board and assigns time to opposing players. A shared timer belongs to the activity plan. Do not use a lesson countdown to imply tournament timing rules or to rush a new player through individual moves.
Compare the countdown display from the learner's seat
Product photos can make a timer look larger than it is. Check the listed dimensions, then mark that size on paper or cardboard and place it where the timer would stand. Sit at the farthest learner position. The remaining-time area should be visible without blocking the demonstration board or game board.
Consider whether the display makes sense when viewed from an angle and whether small tick marks are essential to reading it. A bold remaining-time area is usually easier to scan than a display that requires learners to read small digits, but the right format depends on the room and the lesson. This is a visibility choice, not a claim about attention or learning performance.
Check controls before choosing a format
A timer that is easy to see can still be awkward to run. Compare how the current model starts, pauses, cancels, and resets. Check whether changing the duration requires several steps and whether the helper can tell at a glance that the countdown is running.
For repeated stations, write down the actual blocks you use—perhaps five minutes for a mini-game, ten minutes for a puzzle pair, and two minutes for cleanup. Confirm that the timer's documented range and setting method cover those blocks. Avoid assuming that a dial, button, or touchscreen behaves like another model that looks similar.
Choose the alert for the room
Some rooms need a clearly audible finish; others need a quieter signal so nearby activities can continue. Check the current product documentation for alert choices, volume controls, vibration, or silent operation rather than relying on category labels. If the listing does not explain the alert, treat that as an unanswered buying question.
Decide what happens when the signal occurs. A timer works better with one neutral instruction such as “finish this move, then reset” or “place the pieces in their labeled container.” For checkers, decide whether a multiple jump already in progress is completed before rotation. For chess, avoid inventing a result for an unfinished casual game; the lesson leader can simply record or photograph the position if play will resume.
Compare footprint, power, and storage
Measure the full table layout with boards, captured-piece space, rule cards, pencils, and the timer. A stable freestanding timer may suit a shared front table, while a smaller unit may fit a family lesson. Verify whether a stand, magnet, or wall mount is included and follow the maker's placement instructions.
Check the documented power source and what the room can support. Replaceable batteries simplify movement between rooms but require a spare-and-replacement routine. Rechargeable models require a compatible cable, charging location, and someone responsible for returning them ready. A plug-in format needs a suitable outlet and cable path. Do not infer runtime from the product category.
Store the timer where helpers can find it without placing weight on the display or losing accessories. If the station travels, measure the packed timer and include its cable or spare batteries in the same labeled kit.
Run a no-buy lesson trial
- Choose one repeated transition that currently runs late or needs several reminders.
- Use a timer already in the room for two or three sessions.
- Add a paper circle or progress bar where the group can see it if the existing display is not visual.
- Note who actually needs to see the countdown, how often it is reset, and whether the alert fits the room.
- Buy a dedicated visual timer only if the visible display or quicker shared reset would improve that tested routine.
The trial may show that a written schedule and a helper's ordinary timer are enough. It may also reveal that one large timer at the front serves the whole room better than a separate timer at every board.
Who should skip a visual timer?
Skip it when lessons are one-to-one, activity lengths change constantly, learners do not need to monitor the transition, or an existing device already does the job without distracting from play. Also skip it if there is no safe, visible place for it within the actual table layout.
If the real goal is fair two-player chess timing, compare analog and digital chess clocks by controls, display, power, and casual-play fit. If the goal is simply shorter first games, the guide to teaching chess and checkers without overwhelming beginners offers ways to narrow the position or learning goal without putting every move on a clock.
Bottom line
A visual timer is most useful as one shared signal for a repeated lesson block—not as a substitute for a chess clock and not as a promise of better behavior or learning. Test the routine first, then compare display visibility, setting and reset steps, documented alert options, timing range, footprint, power, and storage. If only the helper needs the countdown, use the timer already available and spend the equipment budget on the board, pieces, or teaching materials learners actually handle.