
Choose magnetic clips when diagrams and rule cards need to face a group from a confirmed magnet-compatible surface. Choose binder clips when papers need to stay together, hang from a suitable edge or rail, or travel between lessons. The useful distinction is display versus bundling—not an unsupported promise that one clip holds more than the other.
Both formats can keep chess positions, checkers jump exercises, score sheets, and activity instructions within reach. First identify the exact attachment point and paper job; a clip cannot compensate for the wrong surface, an overloaded stack, or a blocked sightline.
As an Amazon Associate, The Good Chess & Checkers may earn from qualifying purchases.
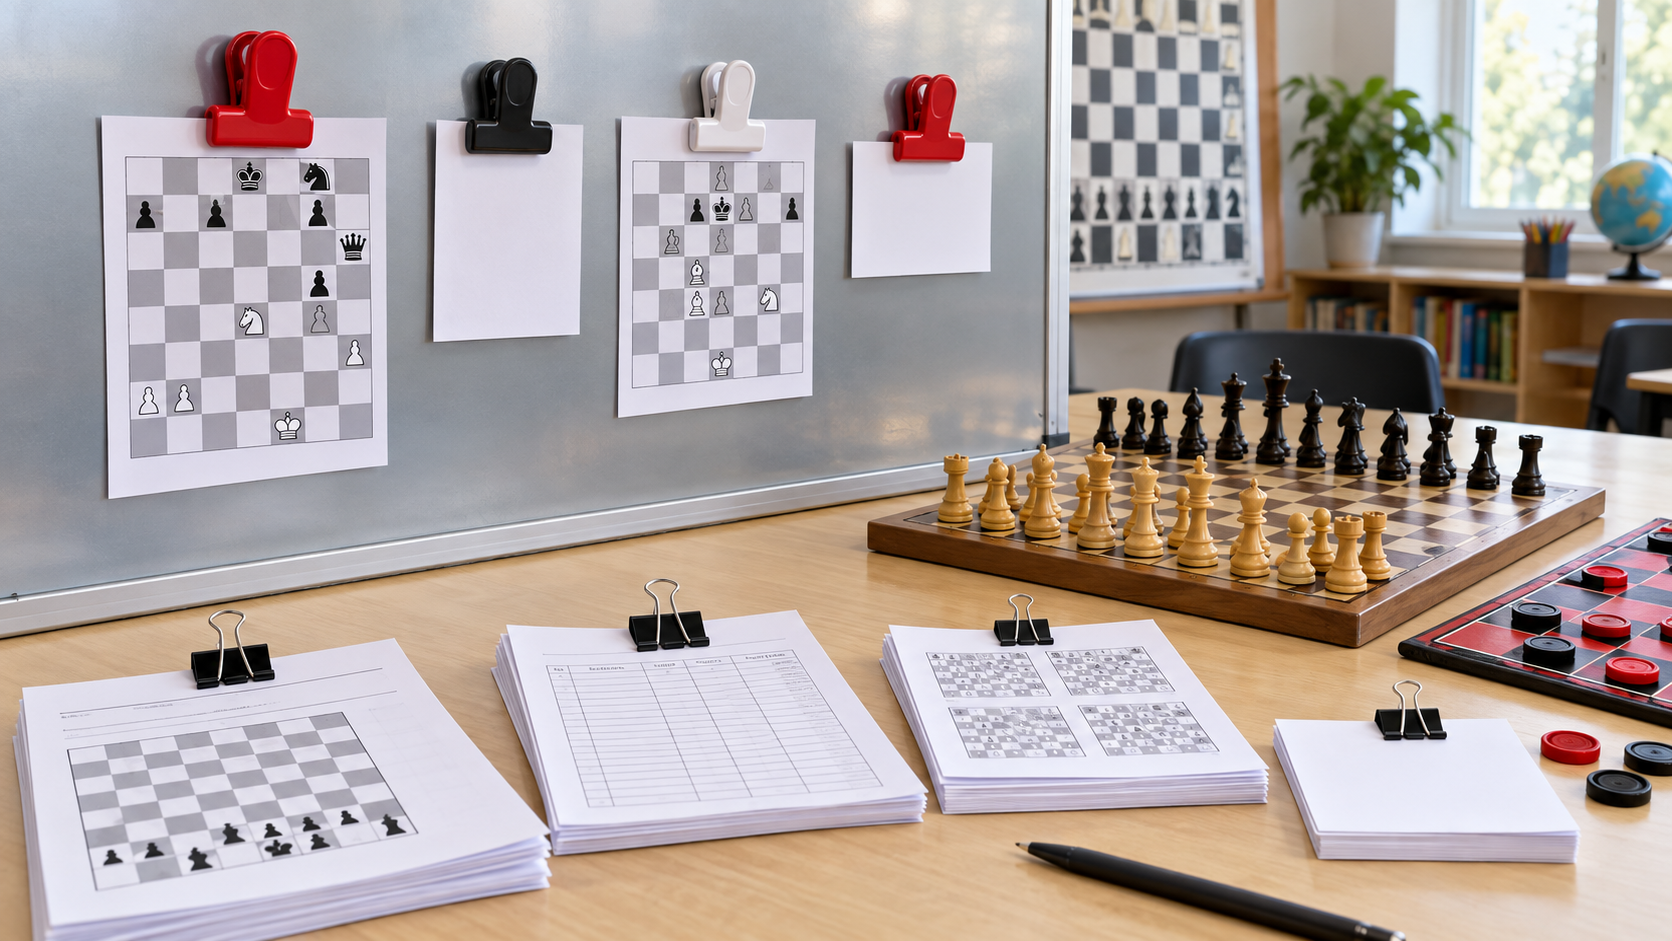
Display surface or portable paper stack?
Verify the attachment point before buying clips
For magnetic clips, confirm that the intended surface attracts a magnet and check the clip dimensions and maker-stated load guidance. For binder clips, measure the paper stack and usable mounting edge, then check jaw opening, handle clearance, and the surface maker's cautions.
Quick decision
- Use magnetic clips for a rotating diagram, rule card, or session plan on a confirmed magnet-compatible board or cabinet.
- Use binder clips to group handouts, keep score sheets by table, or attach a page to a compatible stand or rail.
- Use both when the teacher displays one reference while distributing clipped paper sets to several tables.
- Use neither when tape, magnets, or jaws could mark the surface, cover teaching content, or create a poor viewing angle.
Where magnetic clips fit
A magnetic clip combines a magnet-backed body with a spring clip. Its best classroom job is repositionable display: a helper can place the day's checkers capture example or chess position where the group can see it, then move or remove it without punching the paper.
The word “magnetic” does not mean every metal-looking surface will work. Test the exact board, cabinet, cart, or stand before ordering a class quantity. Confirm that its maker permits magnets, and do not assume a listed pull value translates directly to the number of sheets a clip will hold vertically. Clip design, paper angle, surface coating, movement, and how the product was measured all matter.
Where binder clips fit
Binder clips are strongest as paper organizers. A clipped set can keep one table's rule summary, exercise, and score sheet together, then move into a bag, drawer, or accordion file. The wire handles can also provide a hanging point when a purpose-built rail or stand safely accepts the clip.
A binder clip needs enough jaw opening for the stack and enough edge depth to grip it without hiding important squares or instructions. Its metal edges and spring pressure may mark delicate furniture, coated boards, posters, or laminated pages. Use a protective interface only if the relevant surface guidance permits it; otherwise choose a stand, sleeve, or paper tray.
Compare the lesson workflow
Mounting surface
Magnetic clips need a compatible ferromagnetic surface, not merely a whiteboard or a metallic appearance. Binder clips need an exposed edge or a paper stack within their stated jaw opening. Test one real setup at teaching height before buying multiples.
Visibility
Magnetic clips can spread several references across a board, which helps when learners need to see one diagram at a time. Binder clips usually keep a packet compact. Check viewing distance, glare, clip placement, and whether the page remains flat enough to read.
Repositioning and lesson changes
A magnetic clip can move quickly around one compatible surface. A binder clip travels with its paper stack and preserves the order between rooms. If pages change during a lesson, rehearse removal and replacement without dropping or reshuffling them.
Storage and portability
Magnetic clips may store directly on a compatible cabinet or in a divided container; loose magnets should not be allowed to attach unpredictably to other equipment. Binder clips nest poorly when handles catch, so assign them a small box and separate sizes. Keep either format away from game pieces so the set count stays obvious.
Surface marks and blocked content
Inspect contact points. Grit trapped beneath a magnet-backed clip can scratch a finish, while a binder clip can leave pressure marks. Never cover board coordinates, lesson text, controls, vents, safety labels, or manufacturer instructions.
A five-minute fit test
- Choose the actual rule card, diagram, score sheet, or activity packet.
- Measure the page stack and the available display or clamping area.
- Confirm the surface material and its care instructions.
- Attach one candidate clip at the intended height, then view it from the farthest learner seat.
- Run one distribute, teach, collect, and store cycle before buying a larger quantity.
Who should skip each format?
Skip magnetic clips when there is no verified compatible surface, the material must travel as a packet, or nearby equipment guidance cautions against magnets. Skip binder clips when there is no safe edge, the jaws obscure content, the surface could be dented or scratched, or learners need a page held flat at viewing height. For reusable individual worksheets, dry-erase sleeves may solve the actual writing-and-reset problem better than either clip.
Bottom line
Magnetic clips are the practical choice for visible, movable references on a verified compatible steel surface. Binder clips are the practical choice for grouped papers and portable table packets. Match the clip to its surface and paper job, follow current maker guidance, test one complete lesson cycle, and buy only after the page remains readable and the surface remains suitable.